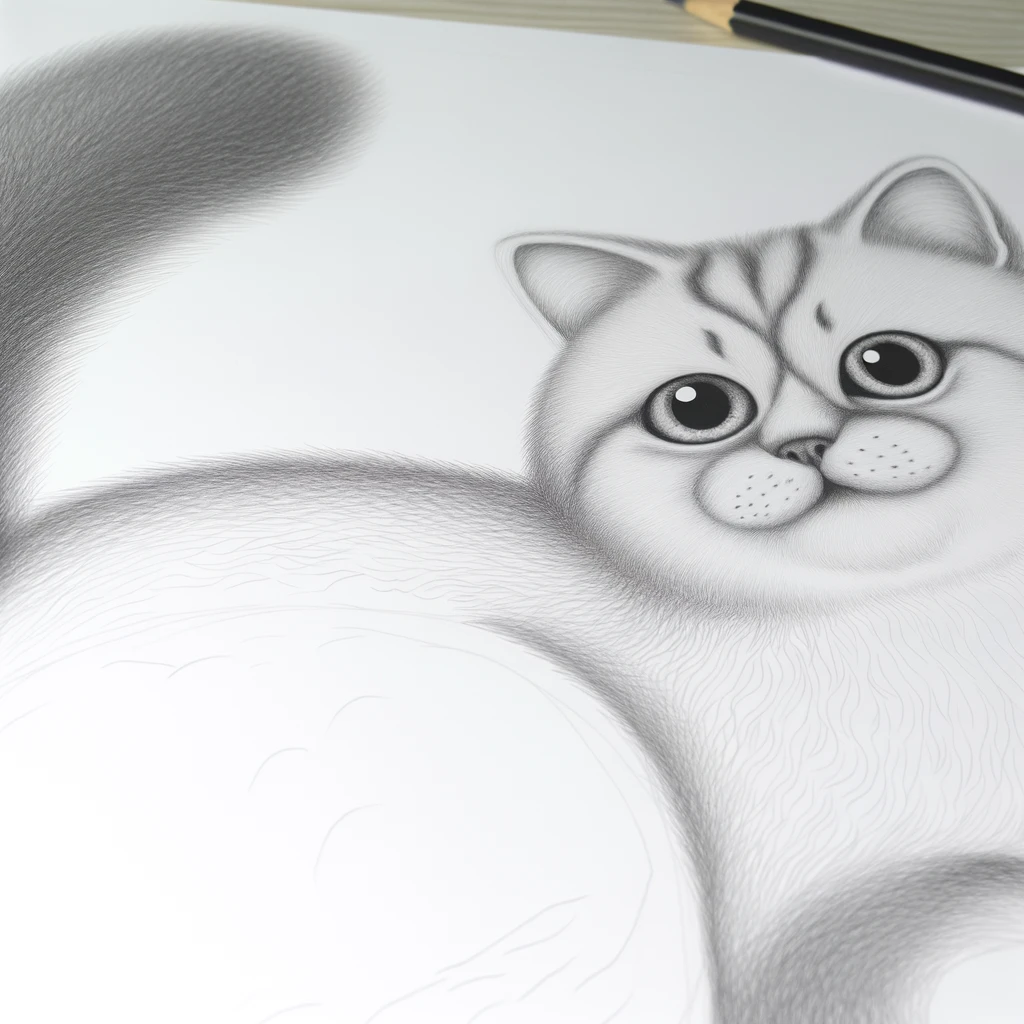
Cats have long captured the hearts of many with their playful personalities and captivating behaviors. Whether you’re a cat owner or simply an admirer of these graceful creatures, drawing cats can be a rewarding and enjoyable experience. This article will explore various techniques, styles, and tips for drawing cats, making it accessible for artists of all skill levels.
Understanding the Anatomy of Cats
Before diving into drawing, it’s essential to understand the basic anatomy of cats. Familiarizing yourself with their body structure will help you create realistic representations. Cats have distinct features that set them apart, such as:
- Body Structure: Cats have a flexible body with a slender, elongated shape. Their muscles are well-defined, especially in the legs and back, allowing for agility and grace.
- Head and Face: A cat’s head is relatively round, with a short muzzle. Their large, expressive eyes and triangular ears are significant distinguishing features. Understanding the placement of these elements is crucial for accurate proportions.
- Tail: A cat’s tail is long and flexible, often used for balance and communication. It can be held high when a cat is confident or tucked down when they are scared.
Focusing on these anatomical aspects will help create a strong foundation for your drawings.
Materials Needed for Drawing Cats
Before you begin, gather the necessary materials. Depending on your preferred drawing style, you may choose from the following:
- Pencils: A range of pencils (HB, 2B, 4B, and 6B) will allow for different levels of shading and detail.
- Paper: A good quality sketchbook or drawing paper will help showcase your artwork.
- Erasers: A kneaded eraser is excellent for lightening areas, while a regular eraser is suitable for cleaning up lines.
- Markers or Ink Pens: If you want to add bold lines or color to your drawings, consider using fine-tipped markers or ink pens.
- Colored Pencils or Watercolors: For adding color to your cat drawings, colored pencils or watercolors can bring your artwork to life.
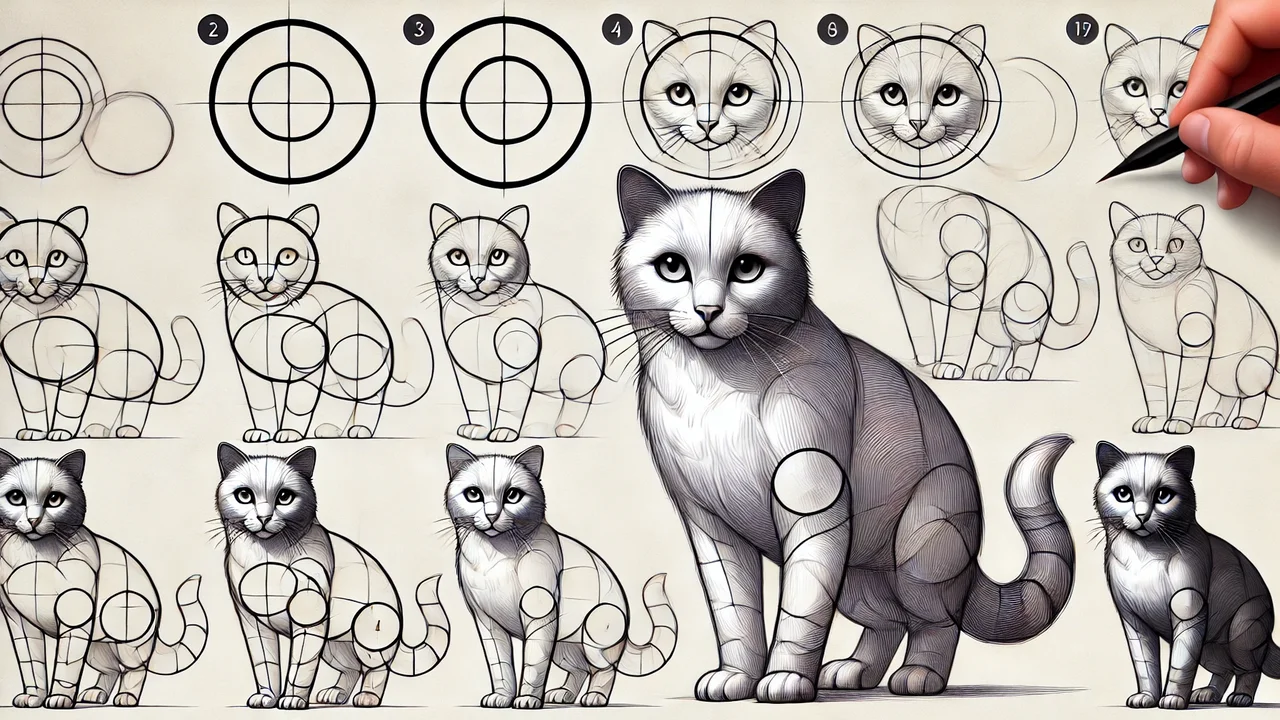
Step-by-Step Guide to Drawing Cats
Step 1: Basic Shapes
Start by breaking down the cat into simple shapes. Begin with an oval for the body and a circle for the head. Sketch lightly, as these lines will serve as guidelines for your drawing.
- Body: Draw a large oval for the cat’s body. Depending on the pose, you can adjust the oval’s orientation.
- Head: Position a circle on top of the oval to represent the cat’s head.
Step 2: Adding Facial Features
Once you have the basic shapes, start refining the head by adding facial features.
- Eyes: Draw two almond-shaped eyes within the head circle. Cats have expressive eyes, so consider the emotion you want to portray.
- Nose: Below the eyes, draw a small triangle for the nose.
- Mouth: Extend a curved line from the bottom of the nose to create the mouth. You can add a small curve to represent the chin.
- Ears: Add two triangular shapes on top of the head for the ears. Cats’ ears can be perked up or relaxed, so adjust accordingly.
Step 3: Sketching the Body
Now that the head is defined, move on to the body.
- Neck: Draw two curved lines connecting the head to the body.
- Legs: For the front legs, draw two elongated shapes coming down from the front of the body. The hind legs should be drawn further back, with a slight curve to show the muscle structure.
- Tail: Add the tail at the back of the body. Depending on the cat’s mood, the tail can be upright, curled, or relaxed.
Step 4: Refining Details
With the basic shapes and features in place, begin refining your drawing.
- Fur Texture: Start adding fur texture by using short, quick strokes to indicate the direction of the fur. Remember that different breeds have different fur lengths and textures, so adjust accordingly.
- Whiskers: Add whiskers extending from the sides of the nose. They should be long and slightly curved.
- Eyes: Add pupils and highlights to the eyes to bring them to life. This will give your cat a more realistic appearance.
Step 5: Shading and Depth
Once you’re satisfied with the details, it’s time to add shading to create depth.
- Light Source: Determine where your light source is coming from. This will guide where you add shadows.
- Shading: Use a softer pencil (like 4B or 6B) to add shading to the darker areas of the cat’s body. Pay attention to areas like under the chin, behind the ears, and the underside of the body.
- Blending: You can blend the pencil marks with your finger or a blending stump for a smoother finish.
Step 6: Final Touches
Finally, take a step back and assess your drawing.
- Eraser: Clean up any unnecessary lines or guidelines with your eraser.
- Contrast: Enhance the contrast by darkening the shadows and adding more definition to the fur texture.
- Background: If desired, add a simple background that complements your cat drawing without distracting from it. This could be a shaded area, a cozy room, or an outdoor setting.

Exploring Different Styles
Once you’re comfortable with drawing cats realistically, consider experimenting with different artistic styles. Here are a few ideas:
1. Cartoon Style
Drawing cats in a cartoon style allows for exaggerated features and playful expressions. Use simple shapes and bold lines, focusing on capturing the essence of the cat rather than strict realism.
2. Stylized Art
For a more abstract approach, experiment with stylized art by using unique shapes, patterns, and colors. This allows for creative expression and can result in vibrant, eye-catching artwork.
3. Realistic Portraits
For those looking to challenge their skills further, try creating realistic portraits of cats. Focus on intricate details, capturing the nuances of fur texture and the uniqueness of each cat’s expression.
Tips for Improving Your Cat Drawings
- Practice Regularly: The more you draw, the better you’ll become. Consider keeping a sketchbook dedicated to cat studies.
- Study Real Cats: Observe real cats or reference photographs to understand their anatomy and movement. Visiting local shelters or spending time with friends’ cats can be helpful.
- Join Art Communities: Engage with online art communities or local art groups to share your work, receive feedback, and learn from others.
- Experiment with Mediums: Try different drawing mediums, such as charcoal, pastels, or digital drawing tools. Each medium can offer a new perspective and enhance your skills.
- Use References: Don’t hesitate to use reference images. Studying various poses and expressions can greatly improve your understanding of feline anatomy.
Conclusion
Drawing cats is not only a delightful creative pursuit but also a rewarding way to express your love for these fascinating animals. By understanding their anatomy, practicing regularly, and experimenting with different styles, you can enhance your drawing skills and create beautiful representations of cats. Whether you aim for realism or prefer a whimsical approach, the joy of capturing the essence of these beloved creatures is boundless. So grab your pencils, unleash your creativity, and embark on your artistic journey into the world of cat drawing!


